Hey everyone! Today, I’m sharing the tale of how my journey into self-hosting and home automation kicked off. What started as a random purchase of a Raspberry Pi (Raspberry Pi 3, to be specific) blossomed into a passion project spanning Docker containers, virtual machines, home automation, and beyond.
If you're into tinkering, learning, and creating, this is your sign to dive in. Let me tell you how I stumbled, learned, and built an evolving homelab setup that's been an incredible playground for IT learning.
Chapter 1: The Humble Beginnings
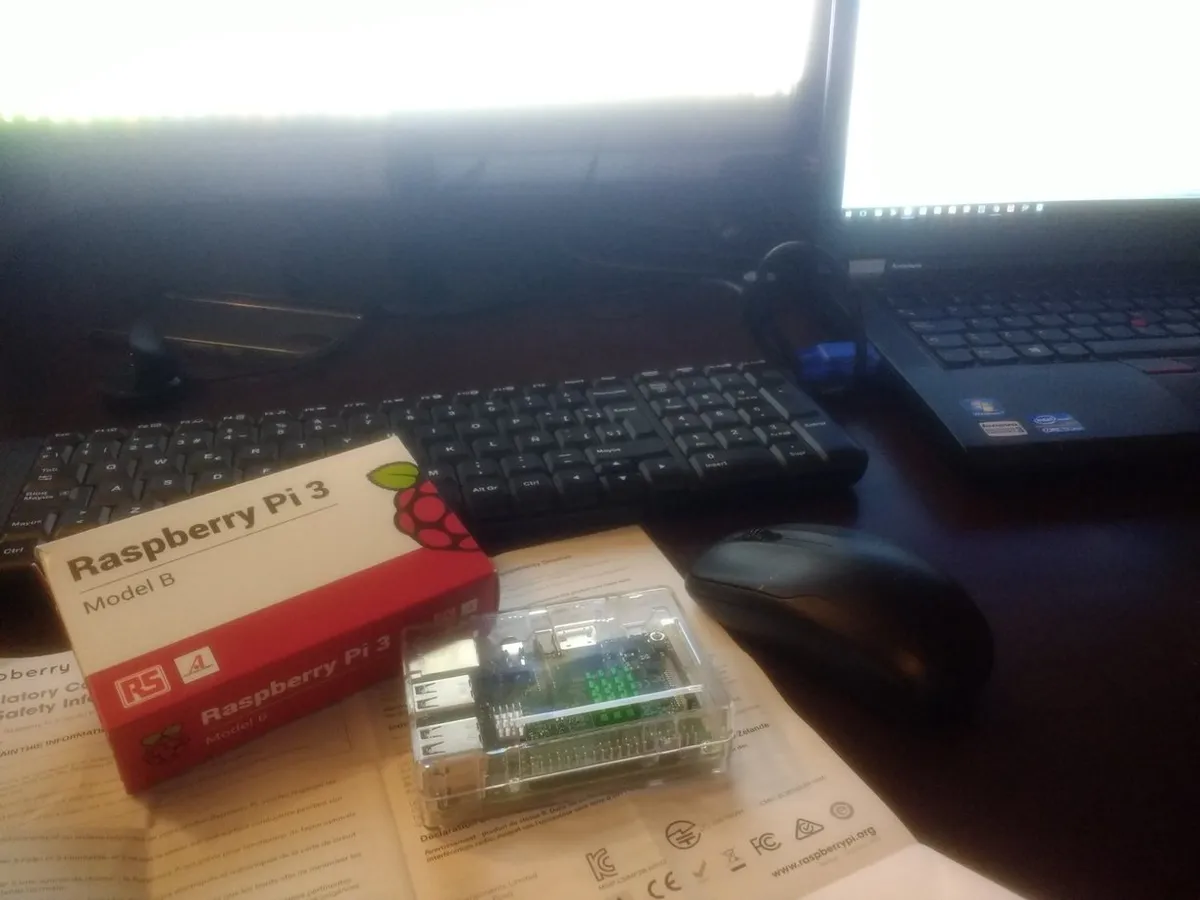
Roughly 6 or 7 years ago, I was working on industrial web applications for a manufacturing company. Around that time, I bought my first Raspberry Pi. Why? Honestly, I didn’t have a clue back then—call it an itch to experiment. My first project was Retropie, turning that tiny board into a retro gaming console. Fun, but I quickly realized there was more potential here.
I was swimming in spare hard drives (because, IT life) and started researching ways to create a NAS (Network-Attached Storage). That’s when I discovered OpenMediaVault (OMV). After a week of scouring forums and guides, I had my Pi hooked up with a red Ethernet cable snaking across the living room. Of course, my wife took one look at my “futuristic deployment” and said:
“Oh great, another toy that’ll just gather dust next to your collection of USB cables.”
It worked! My very first NAS shared files across my home network like a charm—except for one tiny issue. My external hard drives kept disconnecting. Turns out, the Pi struggled to handle the power requirements of those drives. Cue my next pivot: an old Lenovo laptop that had been sitting unused because its screen broke.
Turning a Problem into a Server
That laptop had an i7 processor (6th gen) and 8GB of RAM, but I gave it a little boost: upgraded the RAM to 16GB and swapped the HDD for an SSD. With Ubuntu Server installed, I had my first real server running. It became the foundation for running Node.js apps, testing production tools, and just getting my hands dirty with Linux. Of course, when I told my wife the “good news” about repurposing my old laptop, she couldn’t resist:
“So instead of throwing out junk, you’re building Franken-tech now? Impressive.”
Hey, one man’s junk is another man’s server!
Node.js apps like my first production-ready site were handled with PM2 (a process manager for Node.js), and I began building small web applications in JavaScript and TypeScript.
Chapter 2: Charmander to Charizard
With the Pi free from NAS duties, I ventured into home automation with Home Assistant—my first serious foray into IoT. Home Assistant is a fantastic platform for tying smart home devices together, and it let me control everything from lights to thermostats.
Then came the game-changer: Docker.

Docker opened up the self-hosting world to me. The first container I set up was Pi-hole, a network-wide ad blocker. With that, I learned the basics of managing networks and DNS. Next came Uptime Kuma (server monitoring), Netdata (system metrics), and a personal webpage hosted on an AWS EC2 instance.
My Docker skills leveled up quickly. I moved from running individual containers with CLI commands to writing YAML configurations for reproducibility. I dove into tutorials like this Docker networking guide, which clarified the intricacies of Docker networking.
Here’s a glimpse of the projects that emerged during this phase:
- Media Management: Radarr, Sonarr, and Jackett for automating movie and TV show downloads.
- System Monitoring: Netdata and Uptime Kuma helped me monitor my servers and containers.
- Portainer: A GUI for managing Docker containers, invaluable for quick adjustments.
To organize everything, I set up a slick homepage with Homepage—essential for keeping track of all my services.
Chapter 3: Present and Future
When my trusty Lenovo server finally gave out, I upgraded to a small-form-factor PC: a ThinkCentre M7100q. It’s compact, efficient, and powerful enough to handle my expanding needs.
I installed Proxmox, a type-1 hypervisor for running virtual machines (VMs) and containers. Here’s how my setup looks now:
Proxmox Setup
VM for Docker Containers (Debian-based):
- Pi-hole
- Uptime Kuma
- Netdata
- Radarr, Sonarr, Jackett
- qBittorrent
- Portainer
- Homepage
Kali Linux VM: For cybersecurity and penetration testing experiments.
Plex LXC Container: Streams my media library.
On top of that, I purchased a Synology NAS, which I now use for backups, photos, and media storage. It’s mapped to both my personal laptop and the Docker VM.
Raspberry Pi Adventures
Meanwhile, my Raspberry Pi handles Home Assistant and a new project: room detection using ESP32 modules and Bluetooth signal intensity.
Future Plans
- Self-hosted Password Manager: Currently on Bitwarden, but I’m exploring moving this to my local setup.
- Expanding Automations: More ESP32-based projects are in the pipeline.
Final Thoughts
Building a homelab has been an incredible journey. It’s a constant cycle of problem-solving, learning, and creating. If you’re someone who loves to tinker or wants to expand your IT skills, there’s no better way to do it than with a homelab.
Whether it’s Docker, Linux, home automation, or networking, there’s so much to learn—and the best part is, you’re in full control of what you create.
If you’re just getting started, don’t overthink it. Start with a Raspberry Pi, experiment, and see where the rabbit hole leads.
I’ll continue to share my projects, tips, and YAML files here. Until next time, happy tinkering! 😊